

How Much Do Aluminum Storm Windows Cost? (2026 Pricing Guide)
On average, aluminum storm windows cost between $90 and $350 per window for materials alone. Fully installed by a professional, expect total costs to land between $160 and $520 per opening, depending on the operating mechanism, glass treatment, and structural grade of the aluminum extrusions.
Cost by Window Configuration & Mechanism
The operational mechanism dictates both manufacturing complexity and day-to-day utility.
| Window Configuration | Typical Operation & Mechanism | Average Cost (Unit Only) |
|---|---|---|
| Fixed Picture | Non-operable, stationary sash for deadlights and transoms | $70 – $130 |
| Two-Track Double-Hung | Outer glass sash fixed/movable, bottom sash operates with bottom half-screen | $110 – $210 |
| Triple-Track Double-Hung | Two independent glass sashes + full/half screen in dedicated channels | $150 – $320 |
| Horizontal Slider | Side-by-side sliding sashes on nylon glides for wide openings | $130 – $260 |
-
- Fixed units work best on non-venting picture windows or basement hopper openings.
- Two-track units offer basic ventilation but require storing or shifting storm panels seasonally.
- Triple-track storm windows are the industry standard for maximum convenience, allowing seamless seasonal transitions without removing panels or screens.
Glass Type & Energy Efficiency Add-ons
Upgrading your glazing package directly impacts comfort, acoustic damping, and utility rebates:
-
- Standard Annealed Glass (Base): Standard 1/8-inch (single-strength or double-strength) float glass included in base pricing.
- Low-E Glass Coating (+$25 – $55 per unit): Hard-coat pyrolytic Low-E coatings reflect radiant heat back into the living space in winter and deflect solar gain in summer, boosting thermal efficiency by up to 35%.
- Tempered Safety Glass (+$40 – $75 per unit): Heat-treated to crumble safely under impact; required by building codes for storm units within 18 inches of the floor or adjacent to exterior doors.
- Laminated Acoustic Glass (+$85 – $160 per unit): Polyvinyl butyral (PVB) interlayer sandwich that dampens outdoor street noise while providing extreme impact resistance.
Material Grade & Finish Variables
Not all aluminum extrusions deliver the same structural lifespan. Frame wall thickness and surface finishing dictate how well the storm window resists racking, high wind loads, and oxidation:
-
- Mill-Finish Aluminum (Economy): Untreated raw metal. It is budget-friendly but prone to surface oxidation, pitting, and chalking within 3 to 5 years in humid or coastal climates.
- Anodized Aluminum (Mid-Tier, +15% to 20%): Chemically etched and electrochemically sealed. Provides superior scratch resistance and prevents surface oxidation in harsh environments.
- Architectural Powder-Coated (Premium, +25% to 40%): Baked-on polyester or fluoropolymer finish. Delivers robust color retention, chip resistance, and exact color matching for historic facades.
- Light-Gauge vs. Heavy-Wall Extrusions: Budget big-box units use thin 0.040-inch roll-formed aluminum that flexes under wind pressure. Commercial-grade storm systems utilize heavy 0.060-inch to 0.080-inch wall extruded profiles for rigid corner joints and lifetime dimensional stability.
Installation & Labor Costs
-
- DIY Materials ($15 – $35 per opening): High-grade elastomeric or polyurethane exterior sealant, 1-1/4" non-corrosive stainless steel pan-head screws, and closed-cell foam or butyl tape for the head and side blind stops.
- Standard Professional Labor ($60 – $140 per opening): Routine first- or second-story installation on clean, plumb, and square blind stops.
- Historic Casing Prep & Repair ($40 – $110 per opening extra): Scraping failing paint, consolidating rotted wood sill sections, realigning out-of-square casing stops, or custom-installing blind stop extensions on older historic homes.
Proven Strategies to Improve Aluminum Storm Windows
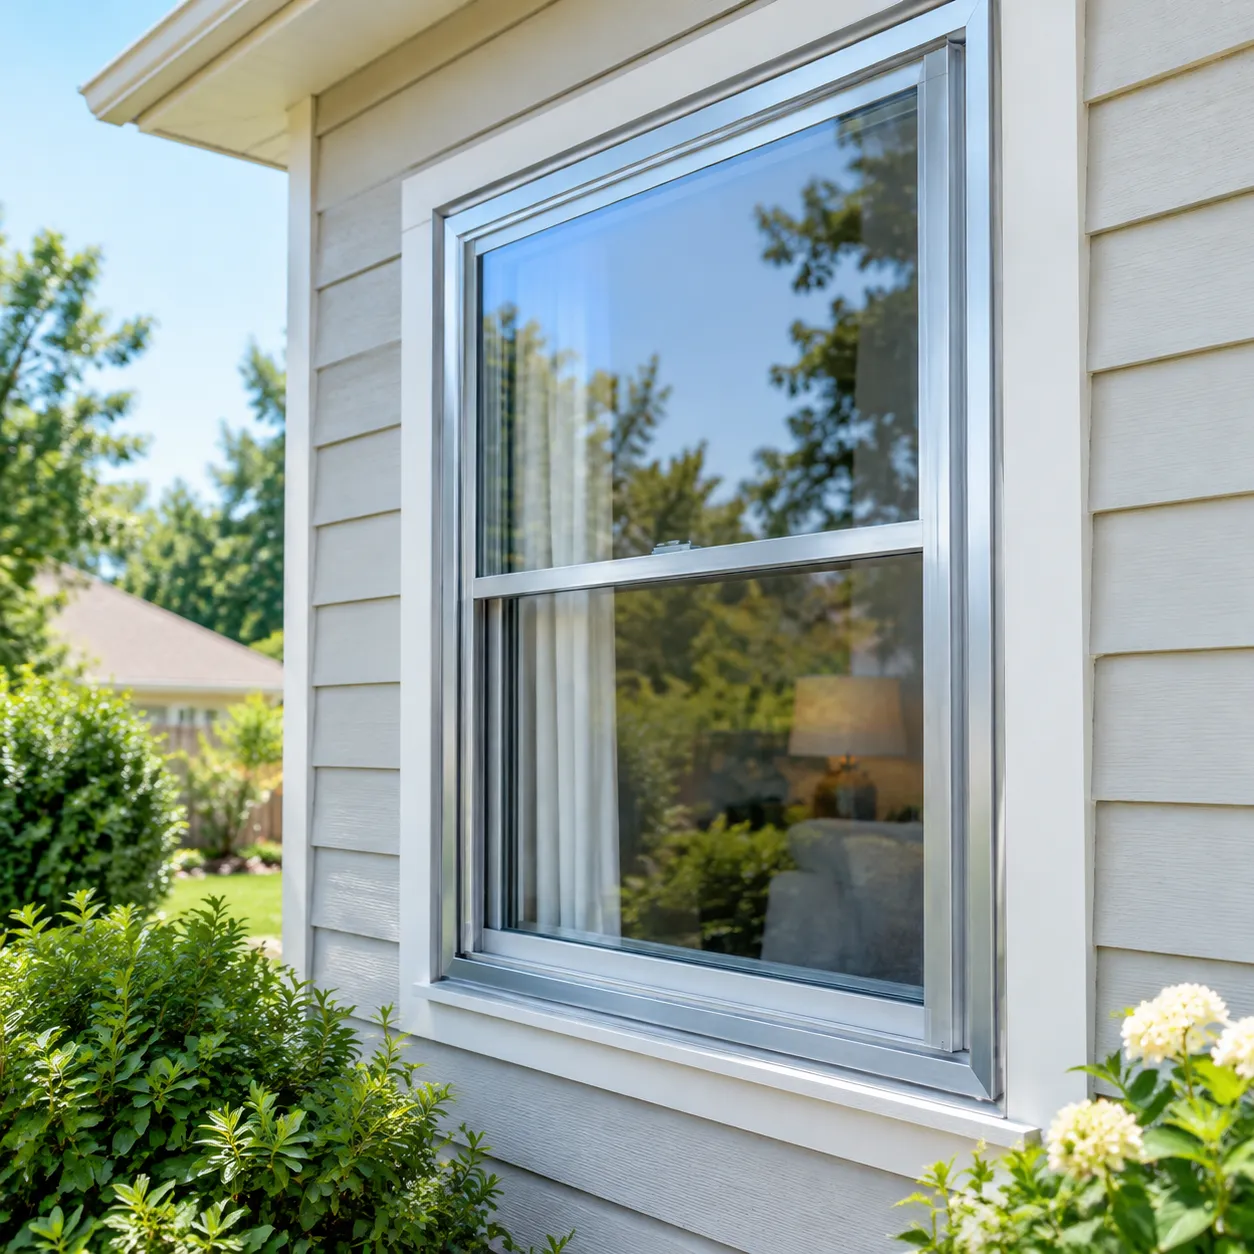
You do not need to replace your entire setup to achieve modern thermal efficiency and quiet operation. With targeted maintenance and strategic upgrades, I regularly help property owners improve aluminum storm windows to stop drafts, eliminate rattling, and slash heating costs.
Eliminating Drafts & Air Infiltration
Air leakage around loose storm sashes ruins insulating performance. Inspect these two failure points first:
-
- Pile weatherstripping replacement: Worn, flattened wool-pile weatherstripping allows cold air to whistle straight through track gaps. Slide out the degraded pile from the sash perimeter channels and install high-density polypropylene fin-seal pile to block wind infiltration.
- Sealing exterior blind stops: Inspect the interface where the storm frame meets the wooden or metal blind stop. Apply a clean bead of exterior-grade polyurethane or elastomeric sealant along the top header and side jambs to lock out perimeter drafts.
Reducing Condensation & Moisture Traps
Moisture trapped between your prime window and storm window leads to wood rot, frost buildup, and frame corrosion.
-
- Clearing bottom weep holes: Never caulk the bottom rail of an exterior storm window. Keep the factory storm window weep holes clear of dirt, bugs, and dried paint to let trapped moisture drain outside freely.
- Balancing interior vs. exterior air seals: The interior prime window must be sealed airtight against warm, humid household air, while the exterior storm window requires bottom drainage ventilation to prevent condensation buildup between panes.
Glazing & Sash Tightening
Loose glass and sagging frames create air gaps and annoying wind rattles during storms.
-
- Replacing wrap around glazing vinyl: Brittle, cracked vinyl gaskets cause air leaks and glass vibration. Remove the sash, dismantle the frame joints, and wrap fresh marine-grade glazing vinyl around the glass edges before reseating.
- Reinforcing aluminum storm window corner keys: Corner keys hold the extruded frame rails square. If the corners pull apart, tighten the retaining screws or replace broken die-cast zinc corner keys to restore structural rigidity and eliminate frame racked corners.
Hardware Repair & Track Optimization
Stiff, jamming storm sashes strain the frame corners and prevent latches from locking down tightly.
| Issue | Root Cause | Solution |
|---|---|---|
| Sash sticking in track | Dirt, oxidation, and salt buildup | Clean anodized aluminum window channels with a stiff nylon brush, then spray dry silicone lubricant. |
| Sash dropping unexpectedly | Broken slide bolts or worn spring clips | Replace old nylon or zinc spring-loaded slide latches with heavy-duty metal replacements. |
| Loose frame alignment | Missing mounting screws on the blind stop | Re-fasten loose side jambs using corrosion-resistant stainless steel screws. |
For hands-on maintenance steps and hardware tuning techniques, follow our window installation and maintenance guidelines to keep every moving component aligned.
Low-Cost Thermal Retrofits
If you have standard clear glass in your storm windows, you can dramatically upgrade performance without purchasing new sashes:
-
- Apply interior Low-E film: Clean the interior-facing surface of the storm glass and apply a specialized Low-E window film. This reflects radiant heat back into the living space, cutting winter thermal loss by up to 25%.
- Magnetic interior secondary glazing: For extreme cold zones, add a lightweight interior acrylic panel with magnetic perimeter edging to create an ultra-efficient, multi-pane thermal barrier.
Step-by-Step Guide to Custom Fabricating Aluminum Storm Windows
Essential Tools, Hardware, and Profiles
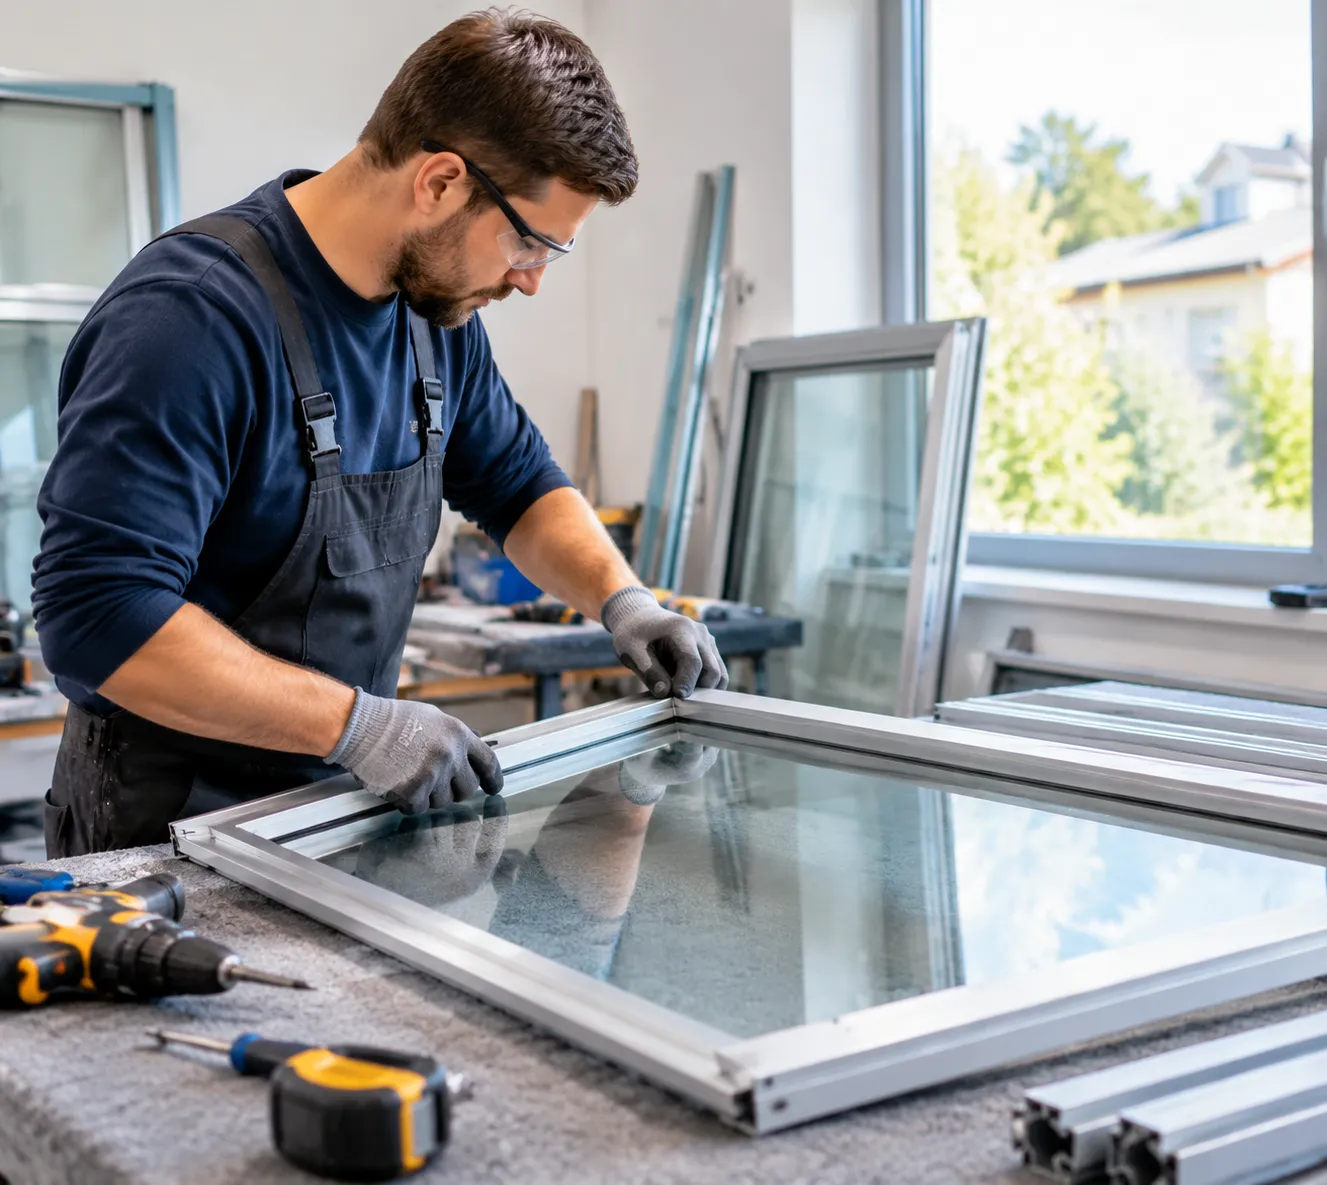
Fabricating storm panels requires rigid aluminum window extrusion profiles and dedicated assembly hardware to ensure the finished frame stays square under thermal expansion.
| Component / Tool | Purpose & Specification |
|---|---|
| Hollow-Box Extrusions | 6063-T5 alloy sash channels with integrated spline grooves |
| Corner Keys | Die-cast zinc or heavy-gauge aluminum storm window corner keys (friction-fit or screw-locking) |
| Glazing Vinyl | Marine-grade wrap around glazing vinyl sized to glass thickness (single-strength or 1/8" double-strength) |
| Miter Saw | Equipped with an 80-tooth to 100-tooth carbide-tipped non-ferrous metal blade |
| Glass Cutting System | Carbide wheel cutter, running pliers, and synthetic cutting lubricant |
| Assembly Tools | Center punch, rubber mallet, deburring tool, and tape measure |
Step 1: Taking Accurate Field Measurements
Never assume a window frame is square. When measuring older rough openings or wood hung windows, take precise window blind stop measurements to establish the exact perimeter dimensions.
-
- Width: Measure horizontally inside the exterior blind stops at the top, center, and sill. Record the narrowest dimension.
- Height: Measure vertically from the highest point of the sloped sill to the top blind stop at the left, center, and right. Record the shortest dimension.
- Check for Square: Measure diagonally from corner to corner. If the diagonals differ by more than 1/8 inch (3 mm), deduct 1/4 inch (6 mm) from the overall width and height rather than the standard 1/8-inch allowance to prevent binding during mounting.
Width Measurement Points: [ Top ] --- [ Middle ] --- [ Bottom ] (Use smallest)
Height Measurement Points: [ Left ] -- [ Center ] --- [ Right ] (Use smallest)
Clearance Deduction: -1/8" to -1/4" overall for expansion tolerance
Step 2: Cutting Profiles with Precision
Clean cuts prevent air leakage and ensure corner keys seat fully inside the hollow channels.
-
- Mark the Extrusions: Account for the corner key overlap if using 90-degree butt cuts, or mark the absolute outer points for 45-degree miter cuts.
- Cut at Steady Speed: Set your miter saw with a non-ferrous aluminum blade. Feed slowly using a wax lubricant stick along the blade edge to avoid galling and melting.
- Deburr the Edges: Run a handheld deburring tool or fine-grit metal file across all cut ends. Removing interior burrs allows corner keys to slide in without catching or skewing the frame alignment.
Step 3: Frame Assembly & Corner Joining
Structural rigidity depends entirely on how securely the corners lock together. While standard residential retrofits rely on these lightweight profiles, high-load openings often benefit from heavy-duty commercial aluminum windows built with reinforced, welded framing.
-
- Dry-Fit the Corner Keys: Insert aluminum storm window corner keys into the top and bottom rails first.
- Join the Stiles: Align the side stiles over the exposed key legs. Tap gently with a dead-blow or rubber mallet until the joints close tightly with zero hairline gaps.
- Stake the Joint: Use a mechanical punch tool or dimple-stake the outer aluminum wall directly over the key channel to lock the friction tabs permanently. If using screw-tightened corner keys, torque the set screws evenly to keep the joint flush.
- Verify Alignment: Measure diagonal corners immediately after staking. Both diagonal measurements must match exactly before moving to the glazing stage.
Step 4: Glazing & Gasket Installation
Proper gasket tension cushions the glass against structural vibration and prevents water infiltration behind the sash.
-
- Wrap the Glass: Cut the wrap around glazing vinyl spline slightly longer than the perimeter of the glass pane. Press the channel-shaped vinyl continuously around the glass edges, notching 90-degree relief cuts into the inner spline lip at each corner without severing the outer seal.
- Insert into the Sash: Place one edge of the vinyl-wrapped glass into the bottom rail channel. Work the side stiles and top rail over the gasket by applying firm, even palm pressure.
- Secure Snap-In Beads: If your extrusion profile uses snap-in retainer beads rather than a closed channel, seat the pane against the structural bed and firmly tap the retention trim into the extrusion groove using a nylon glazing hammer.
Step 5: Drilling Weep Holes & Mounting Prep
Trapped moisture inside a storm sash accelerates wood rot on the primary window sill and causes interior condensation. Directional drainage is mandatory.
-
- Location: Drill weep holes exclusively into the exterior bottom rail face.
- Drilling Technique: Drill two to three 1/4-inch wide by 1/8-inch high horizontal weep slots spaced 3 to 4 inches from each bottom corner. Angle the drill bit downward at a 15-degree slope toward the exterior to let gravity route water away from the blind stop.
- Clear Debris: Vacuum out aluminum shavings completely from inside the channel so drainage paths remain permanently open before final installation.
Precision Architectural Solutions with Orient Juko Metal Art
High-Precision Aluminum Extrusions for Maximum Rigidity
We manufacture heavy-duty aluminum window extrusion profiles designed to eliminate frame deflection. Unlike light-gauge retail kits that bow over wide spans, our reinforced profiles maintain a rigid, square perimeter that preserves continuous gasket compression and prevents air leaks over decades of seasonal use.
Custom Geometric Shapes and Historic Preservation Matching
Historic buildings rarely feature uniform, square window openings. We engineer custom-contoured profiles—including continuous arched tops, cathedral peaks, and complex geometric angles—tailored to the exact masonry lines of the building.
-
- Exact Historic Profiles: Designed to sit discreetly within existing blind stops without altering historic sightlines.
- Specialty Geometries: Complete fabrication of specialty shape windows tailored to custom radius openings.
- Architectural Color Matching: Custom powder-coated and anodized finishes matched to historic preservation palettes to satisfy local landmark preservation standards.
Heavy-Wall Durability for High Winds and Coastal Environments
For coastal zones and high-exposure elevations, standard mill-finish frames oxidize quickly and fail under positive wind pressure. Our engineered custom architectural solutions utilize thick-wall, marine-grade alloys treated with anti-corrosion barrier coatings. These custom aluminum storm windows shield original primary sashes from wind-driven rain, salt air corrosion, and heavy structural loads while dramatically improving overall thermal efficiency.
Frequently Asked Questions About Aluminum Storm Windows
Are Aluminum Storm Windows Better Than Vinyl or Wood?
Aluminum delivers structural strength and longevity that vinyl and wood simply cannot match in high-exposure environments. While wood provides traditional aesthetics and natural thermal resistance, it requires constant scraping, priming, and painting to prevent rot. Vinyl storm frames are bulkier, warp under intense sun exposure, and become brittle in sub-zero winters.
| Feature | Aluminum Storm Windows | Vinyl Storm Windows | Wood Storm Windows |
|---|---|---|---|
| Profile Slimness | Ultra-narrow sightlines | Bulky extrusion profiles | Moderate to thick profiles |
| Structural Rigidity | High (resists wind racking) | Low (can flex or bind) | High (heavyweight) |
| Maintenance Needs | Low (occasional track lube) | Low (prone to UV yellowing) | High (frequent paint/seal) |
| Lifespan | 30 to 40+ years | 10 to 15 years | 20 to 50+ years (if maintained) |
| Moisture Resistance | 100% rot-proof | 100% rot-proof | Vulnerable to rot and mildew |
Aluminum is our go-to recommendation for historic retrofits and multi-story homes because its rigid framework supports large panes of glass without sagging or binding inside the tracks over decades of use.
Do Low-E Aluminum Storm Windows Really Pay for Themselves?
Yes. Upgrading to Low-E storm panels is one of the most cost-effective energy improvements you can make on an existing building envelope. Adding a Low-E coated storm window over a standard single-pane primary window reduces heating and cooling loss by up to 50%, mimicking the thermal performance of modern double-pane replacement units at a fraction of the cost.
-
- Lower Upfront Expense: A custom Low-E aluminum unit costs roughly $130 to $250, compared to $600 to $1,200+ for a full primary window tear-out.
- Rapid Payback Period: Most homeowners recover the initial investment within 3 to 5 years through direct reductions in seasonal utility bills.
- Draft Reduction: Low-E storm assemblies block solar heat gain in the summer and reflect interior radiant heat back inside during the winter, stabilizing room temperatures year-round.
How Do I Stop Aluminum Storm Window Frames from Oxidizing?
Raw aluminum oxidizes when exposed to moisture and air pollutants, forming a chalky white film. Preventing and treating this requires a straightforward maintenance routine:
-
- Clean the Surface: Scrub the metal channels using a soft-bristle brush and a 50/50 mix of warm water and white vinegar or mild dish soap to dissolve mineral buildup.
- Remove Heavy Pitting: Use a fine-grade (0000) steel wool pad lubricated with soapy water to buff out stubborn oxidation spots without gouging the base metal.
- Apply a Protective Sealant: Wipe the clean, dry aluminum with a coat of high-grade automotive paste wax or marine metal sealant. This creates a hydrophobic barrier that repels road salt, rainwater, and smog.
- Choose Factory Finishes for New Builds: If you are ordering new or replacement frames, specify anodized or architectural powder-coated finishes, which permanently seal the metal against environmental corrosion.
Can I Replace Just the Glass in an Aluminum Storm Window Without Replacing the Frame?
Yes. You do not need to replace the entire frame assembly if only the glass is cracked or broken. Because aluminum storm windows use modular sashes held together with friction-fit or screw-fastened corner keys, glazing repairs are straightforward:
-
- Disassemble the Sash: Remove the sash from the track, back out the corner screws (or tap out the friction corner keys with a mallet), and separate the four frame rails.
- Inspect the Spline: Pull out the broken glass and check the wrap-around vinyl glazing spline. If the gasket is hard or brittle, install a fresh roll of matching vinyl channel gasket.
- Install New Glazing: Have a local glass shop cut standard 1/8-inch double-strength or Low-E glass 1/4-inch smaller than the overall frame dimensions to leave room for the gasket.
- Reassemble and Square: Wrap the new glass edge with continuous vinyl, slide the aluminum rails back over the gasketed edges, secure the corner keys, and verify diagonal measurements before reinstalling the sash into the primary track.